

Creating Mixed Media for Different Surfaces
Every craft technique to embellish or transform a particular surface has a basic set of skills or steps that can be learnt or followed to achieve the desired look. When the same becomes a form of artistic expression, the result is a truly special, one-of-a-kind, unique and creative ‘Self-Expression’. When I first tried my hand on the very basic decoupage technique, it was more of a source of rejuvenation and a way to unwind, up until I decided to test the markets here in the UAE and received an immaculate response.
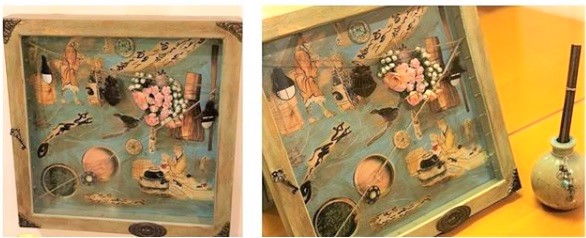
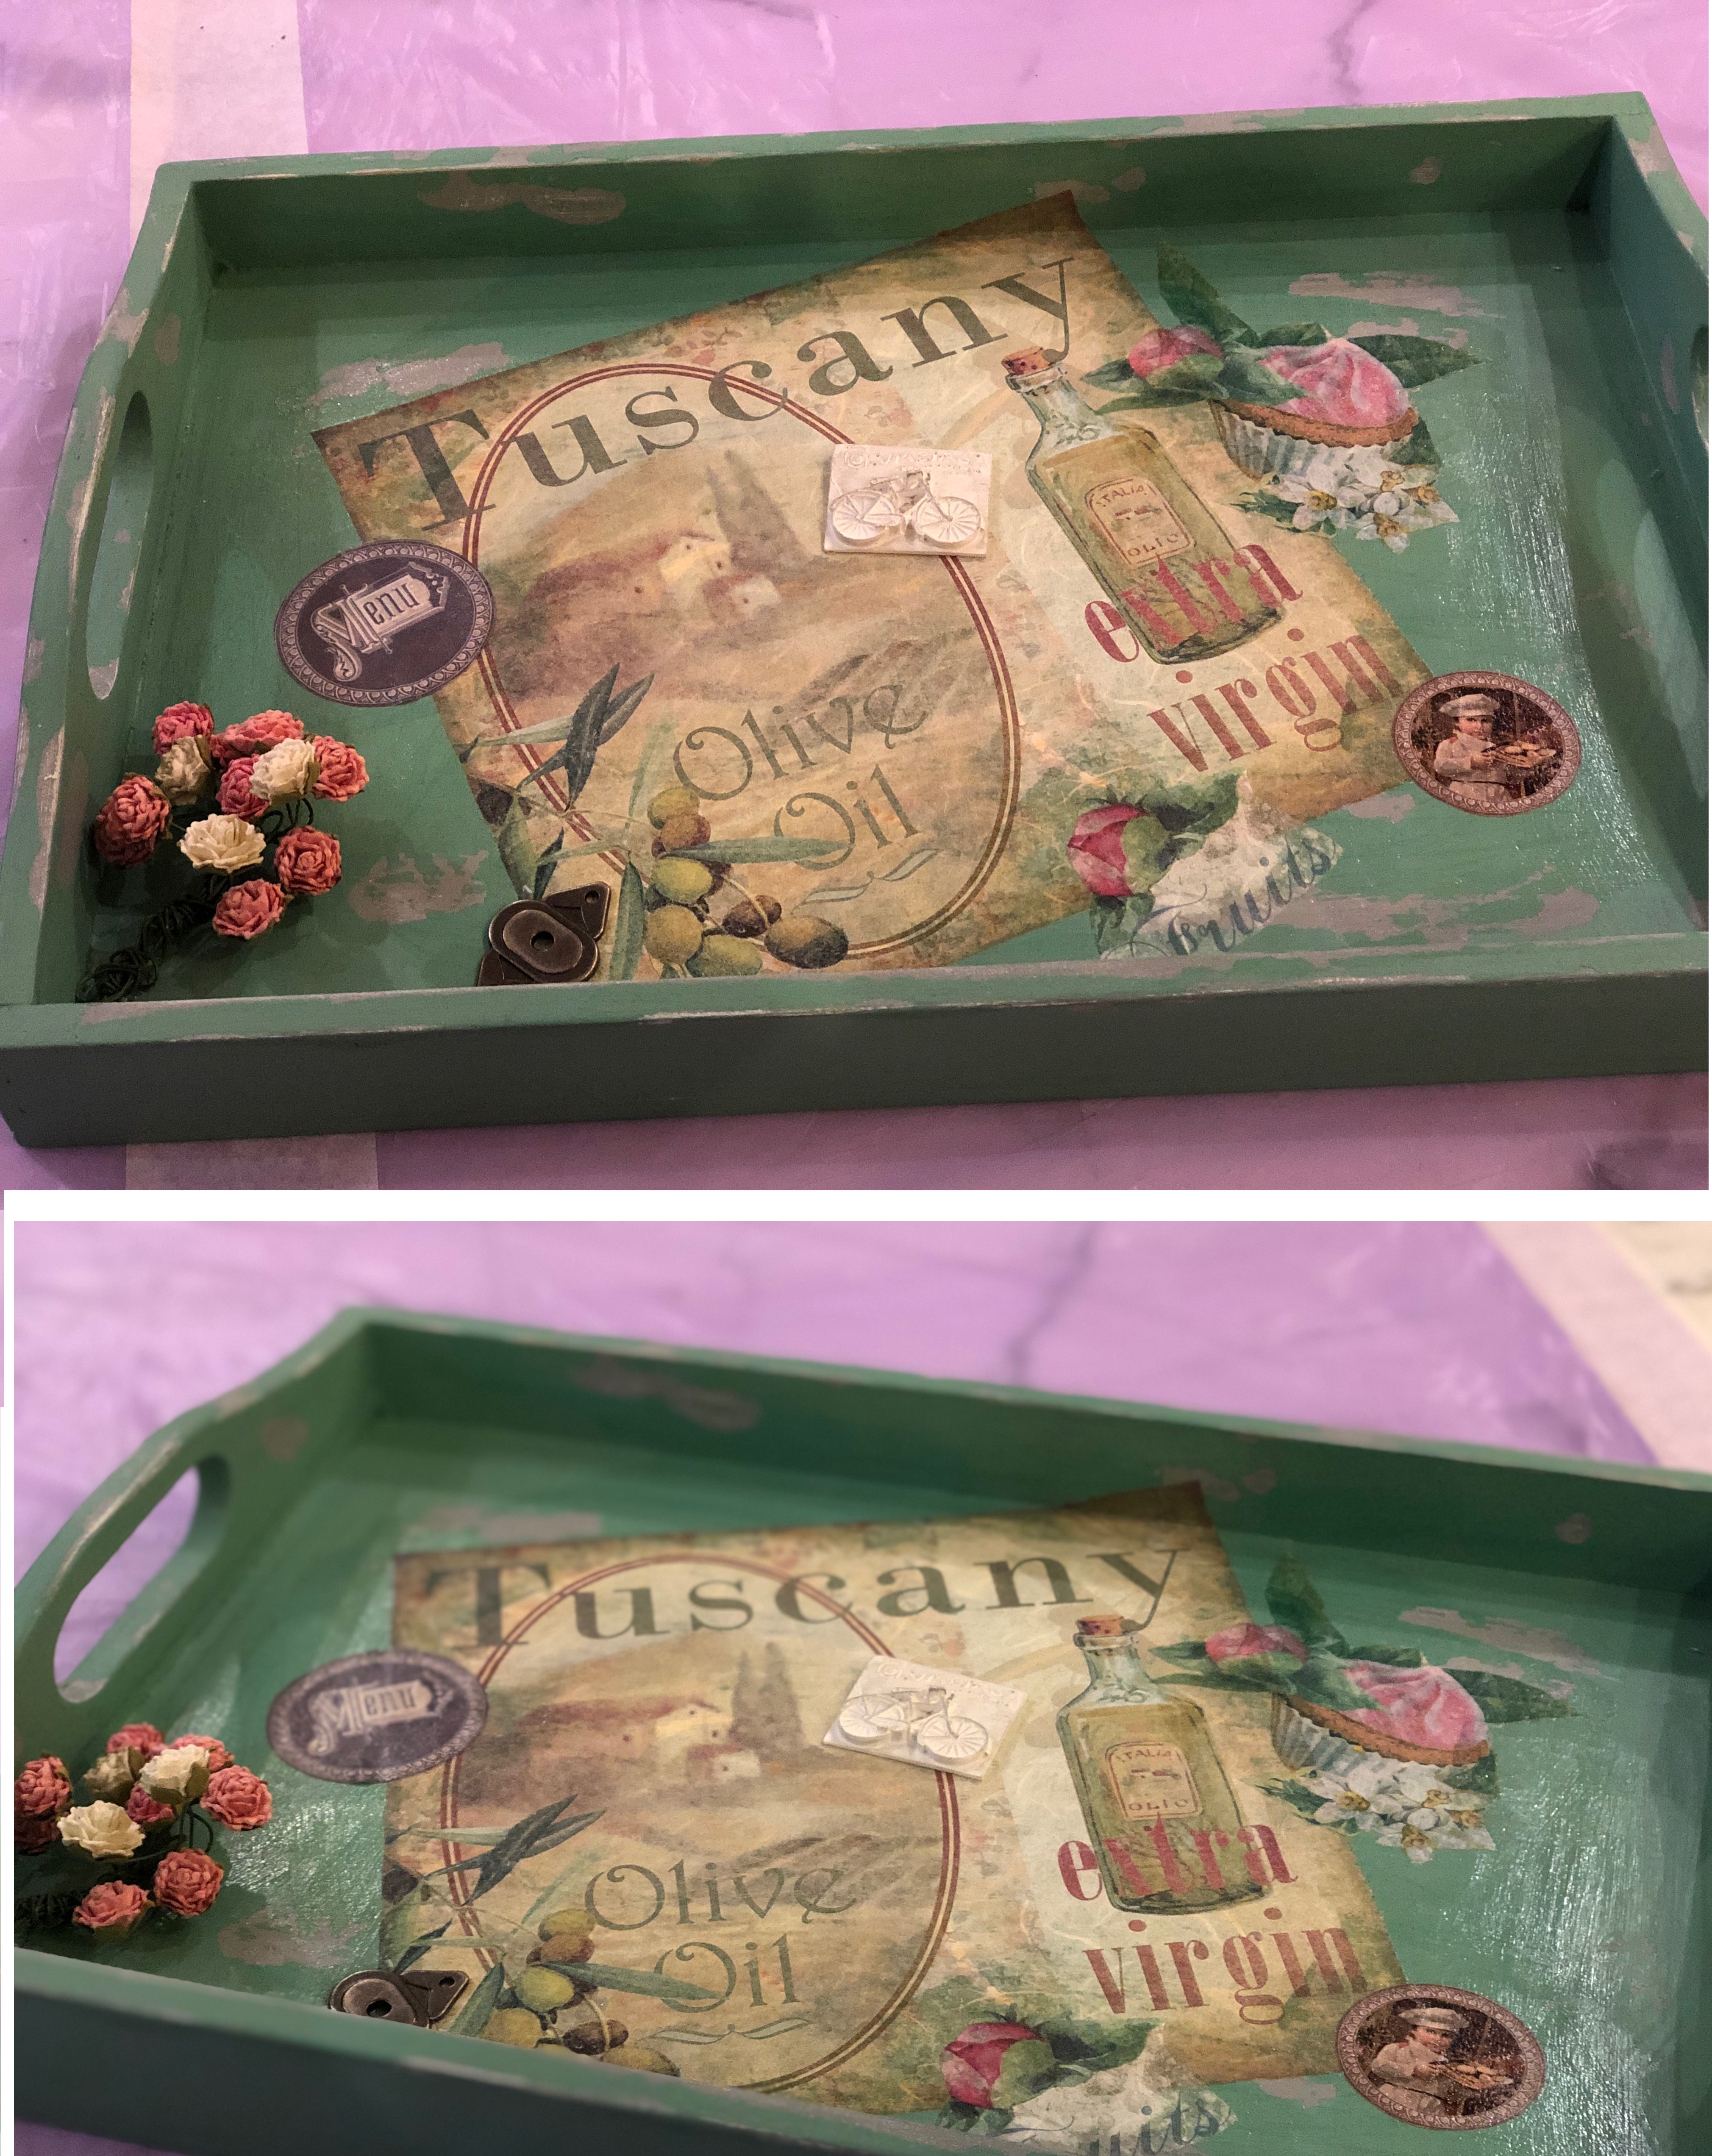
I use decoupage as a base for my pieces and then to make them 100% waterproof I embellish with Acrylic paints, wax pastes finally coating with thick water proof varnish layers – subsequently making them potential heirlooms! Each of my creations presents a story in itself – it must never be out of any context at all! After all, tis the era of personalizing, storytelling and emanating a nostalgic, cozy, snug and homey vibe! This one in particular (see above) is closest to my heart – mainly because it’s based on the Japanese design philosophy of ‘wabi-sabi’ – beauty in the imperfect, incomplete and the impermanent. As I studied more of it for my thesis which was part of the Master’s degree in interior design, it grew on me and I started identifying more and more with it. That is when I attempted to encapsulate the gist of this beautiful philosophy in the form of this ‘shadow box wall hanging’. Some of the core spiritual pillars of the primitive/ancient Japanese ideology and belief include the belief in harmony, respect, purity, tranquility, anti-rationalism, transcendental truth and leading an unencumbered life. This shadow box in particular, attempts to embody the essence of the ancient ‘Japanese tea house’ – the Japanese tea ceremony in spirit, principle and as a moment in time creating experience. The tea-making process itself is as simple as fetching water, collecting firewood for boiling, preparing tea and ultimately serving it. Instead of expensive/conventionally beautiful utensils, warm bamboo tea scoops made of virtue of their age for example, and handcrafted bamboo vases are employed; a whiff of the ‘perfectly imperfect’, ‘age’ and ‘patina’. A successful ceremony is to leave its participants with a feeling of ‘jaku’ – tranquility and ‘Sei’ –Purity.
When it comes to mediums, I usually work with wooden skeletons (trays, coasters, candle-holders, stationery-holders, trinket boxes, cameos, shelves, furniture pieces); however I have never aimed to restrict myself in this regard. Besides wood, I also work on glass, terracotta, as well as pebbles and stones. I have also tried some techniques on walls especially chalkboard paints (Easily available at Ace Hardware) – they come out beautifully!
Basic Technique
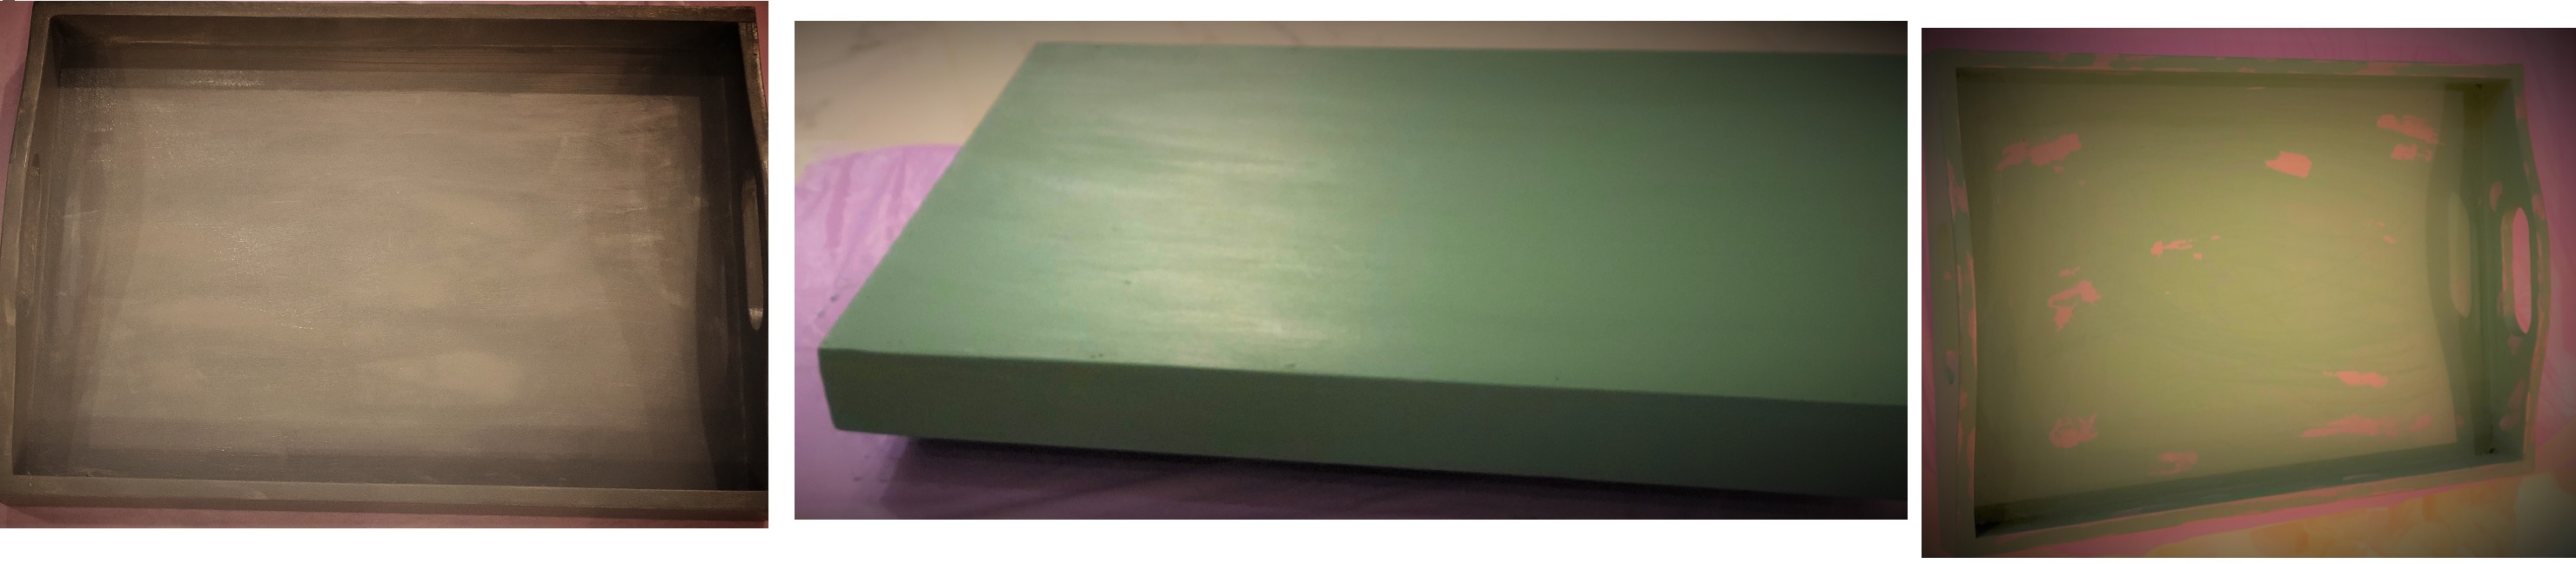
1.The very first step is ‘Sanding’ the skeleton or piece (In case of wood. You don’t need to prime glass or terracotta). This is done with the help of sanding paper whereby you attempt to scrape off the tiniest layer off the wooden surface with the aim to get rid of any irregularities, marks and imperfections – in a nutshell, to smooth out the surface. I usually prefer higher grit sandpaper for my smaller wooden pieces; the lower grit ones tend to make the work-surface too coarse. Always remove the ‘Sanding Dust’ (I frequently use a damp cloth for that) before moving on to the next step.
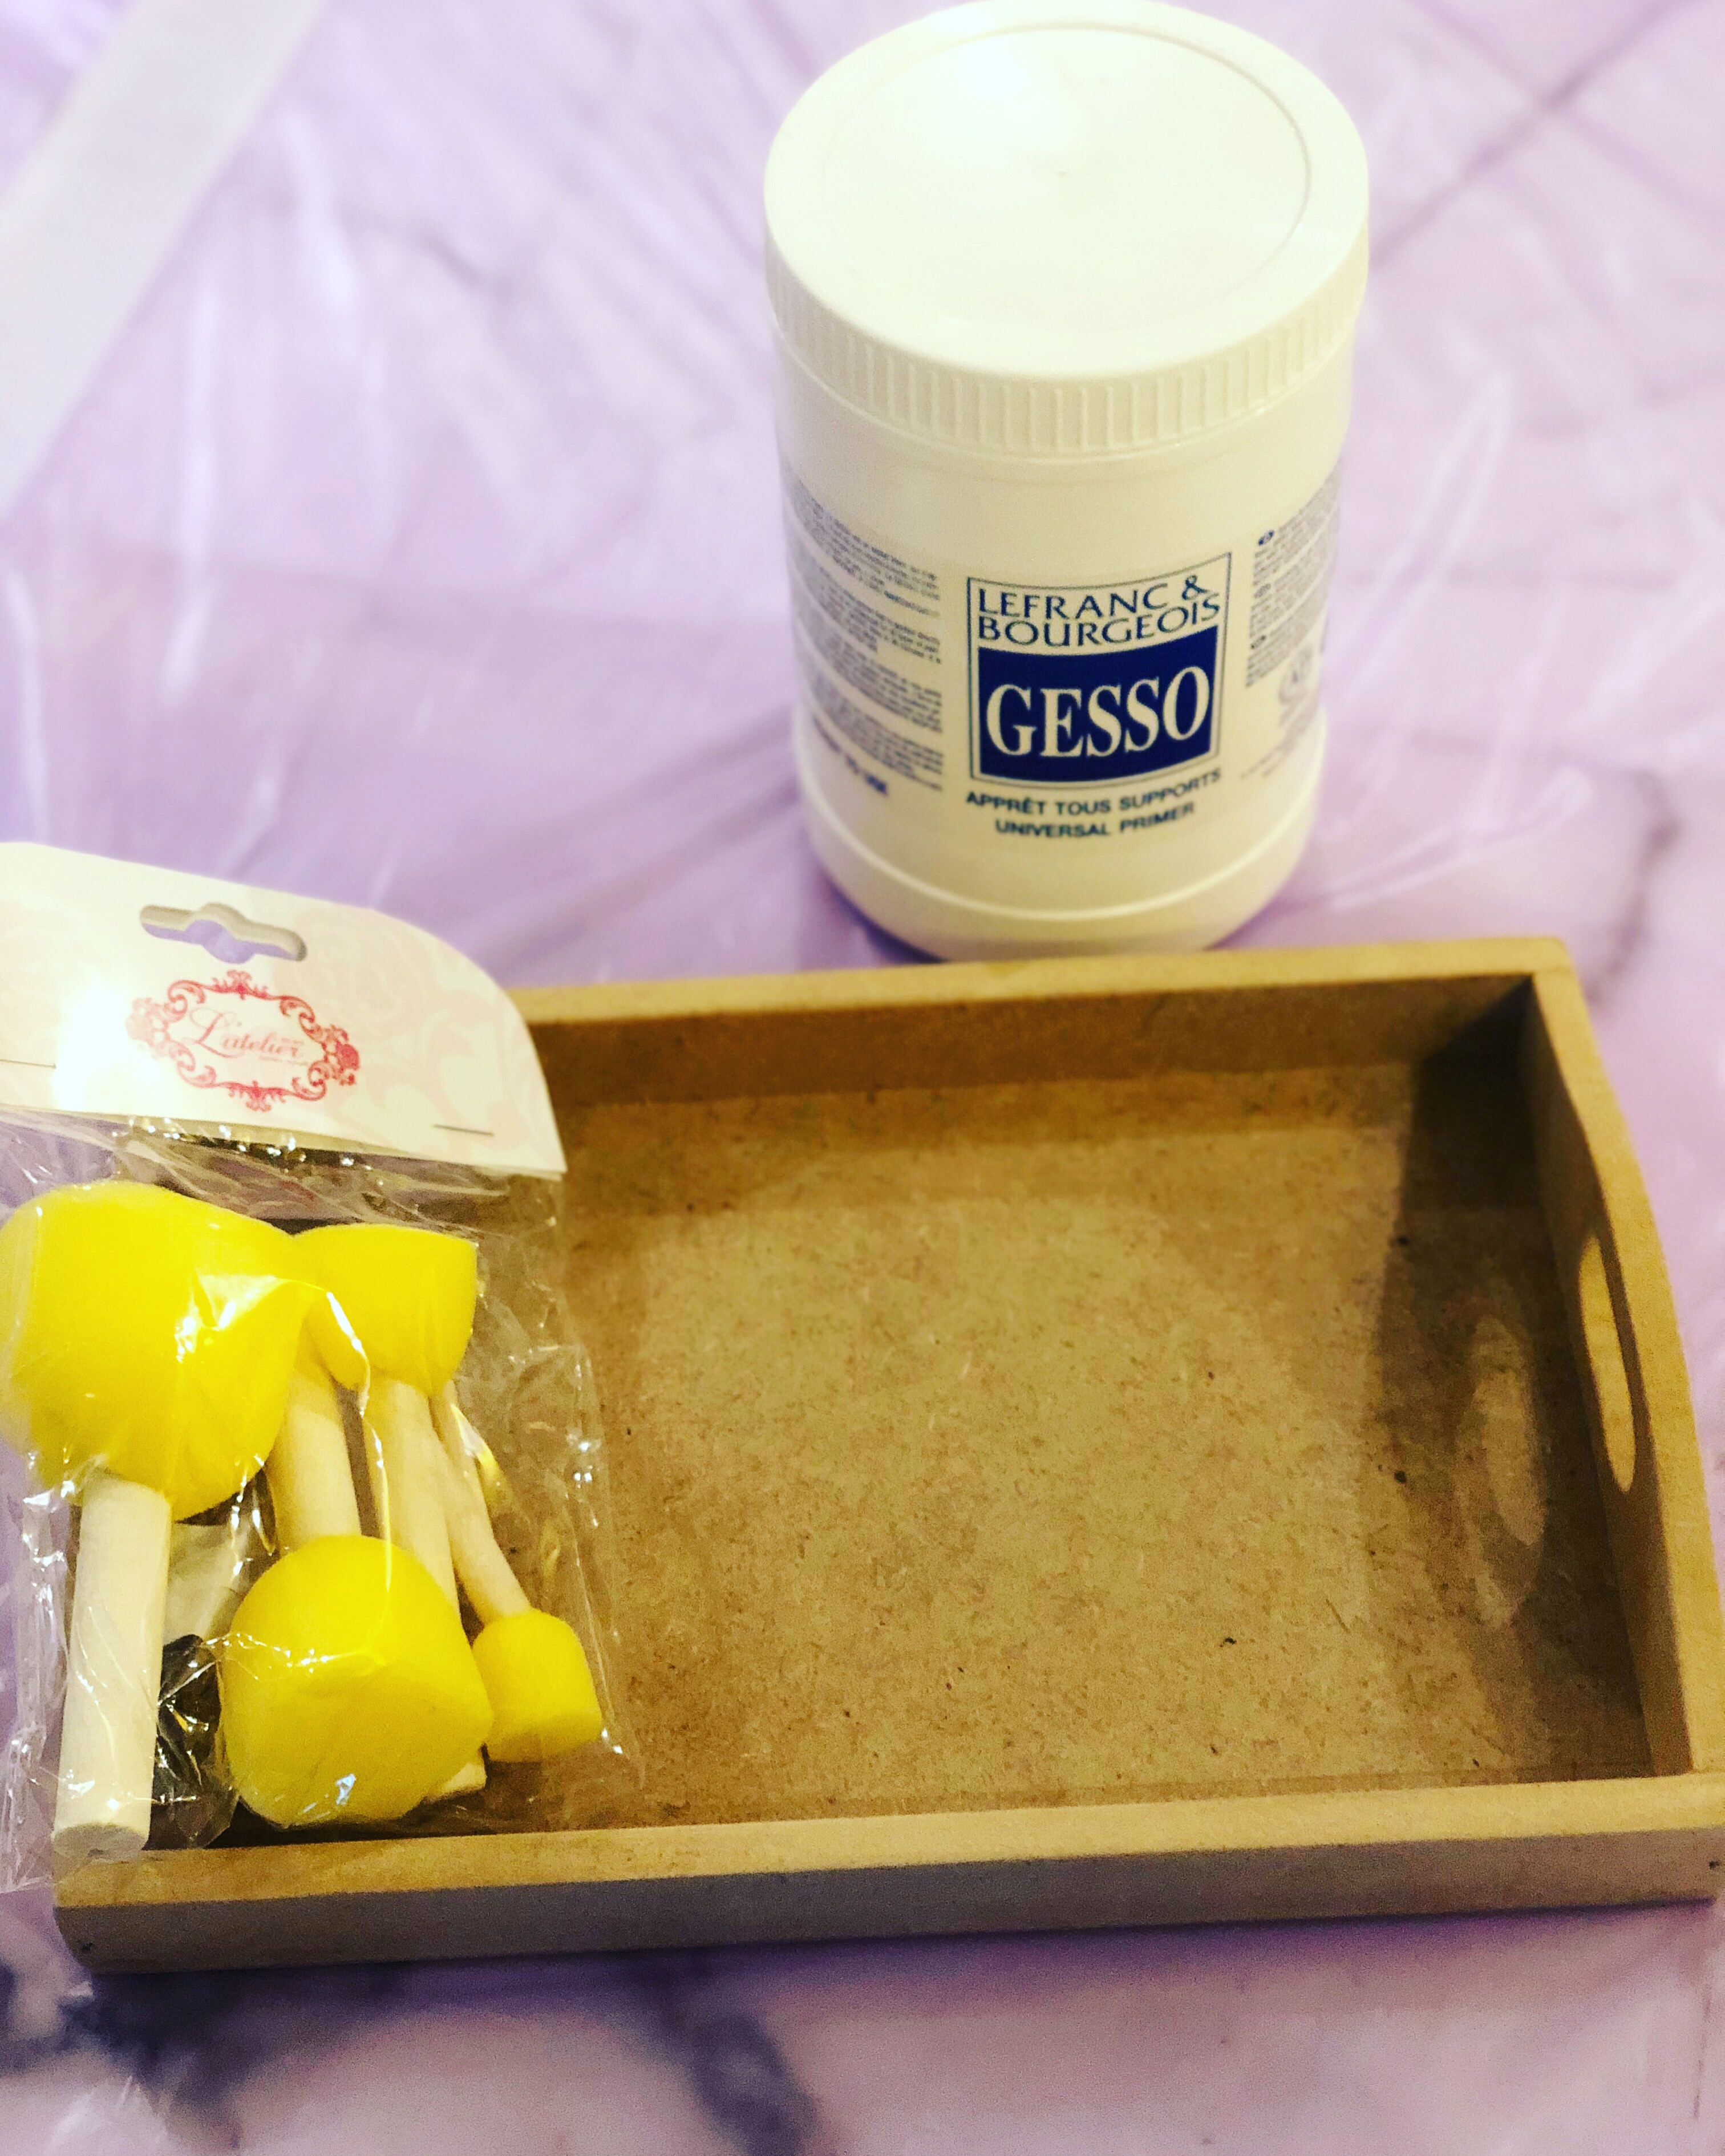
2. After sanding, it is always advisable to prime the surface. My favourite is the ‘Gesso Primer’, most commonly used to prepare surfaces for oil and acrylic painting. And since I usually use acrylics, it works just fine! Ideally two layers of gesso for surface preparation are perfect with a 30 minute- 1 hour wait to allow drying in between the layers. Both sponges and paint brushes may be used for the purpose – If the surface has corners and edges (like in trays and shelves), I prefer to use paintbrushes as it is easier to reach the corners for a smooth covering. For flat surfaces like coasters, sponges work perfectly too. The purpose of this step is to prevent the paint layers (later) from seeping in too much and also to help the layers adhere onto the surface better.
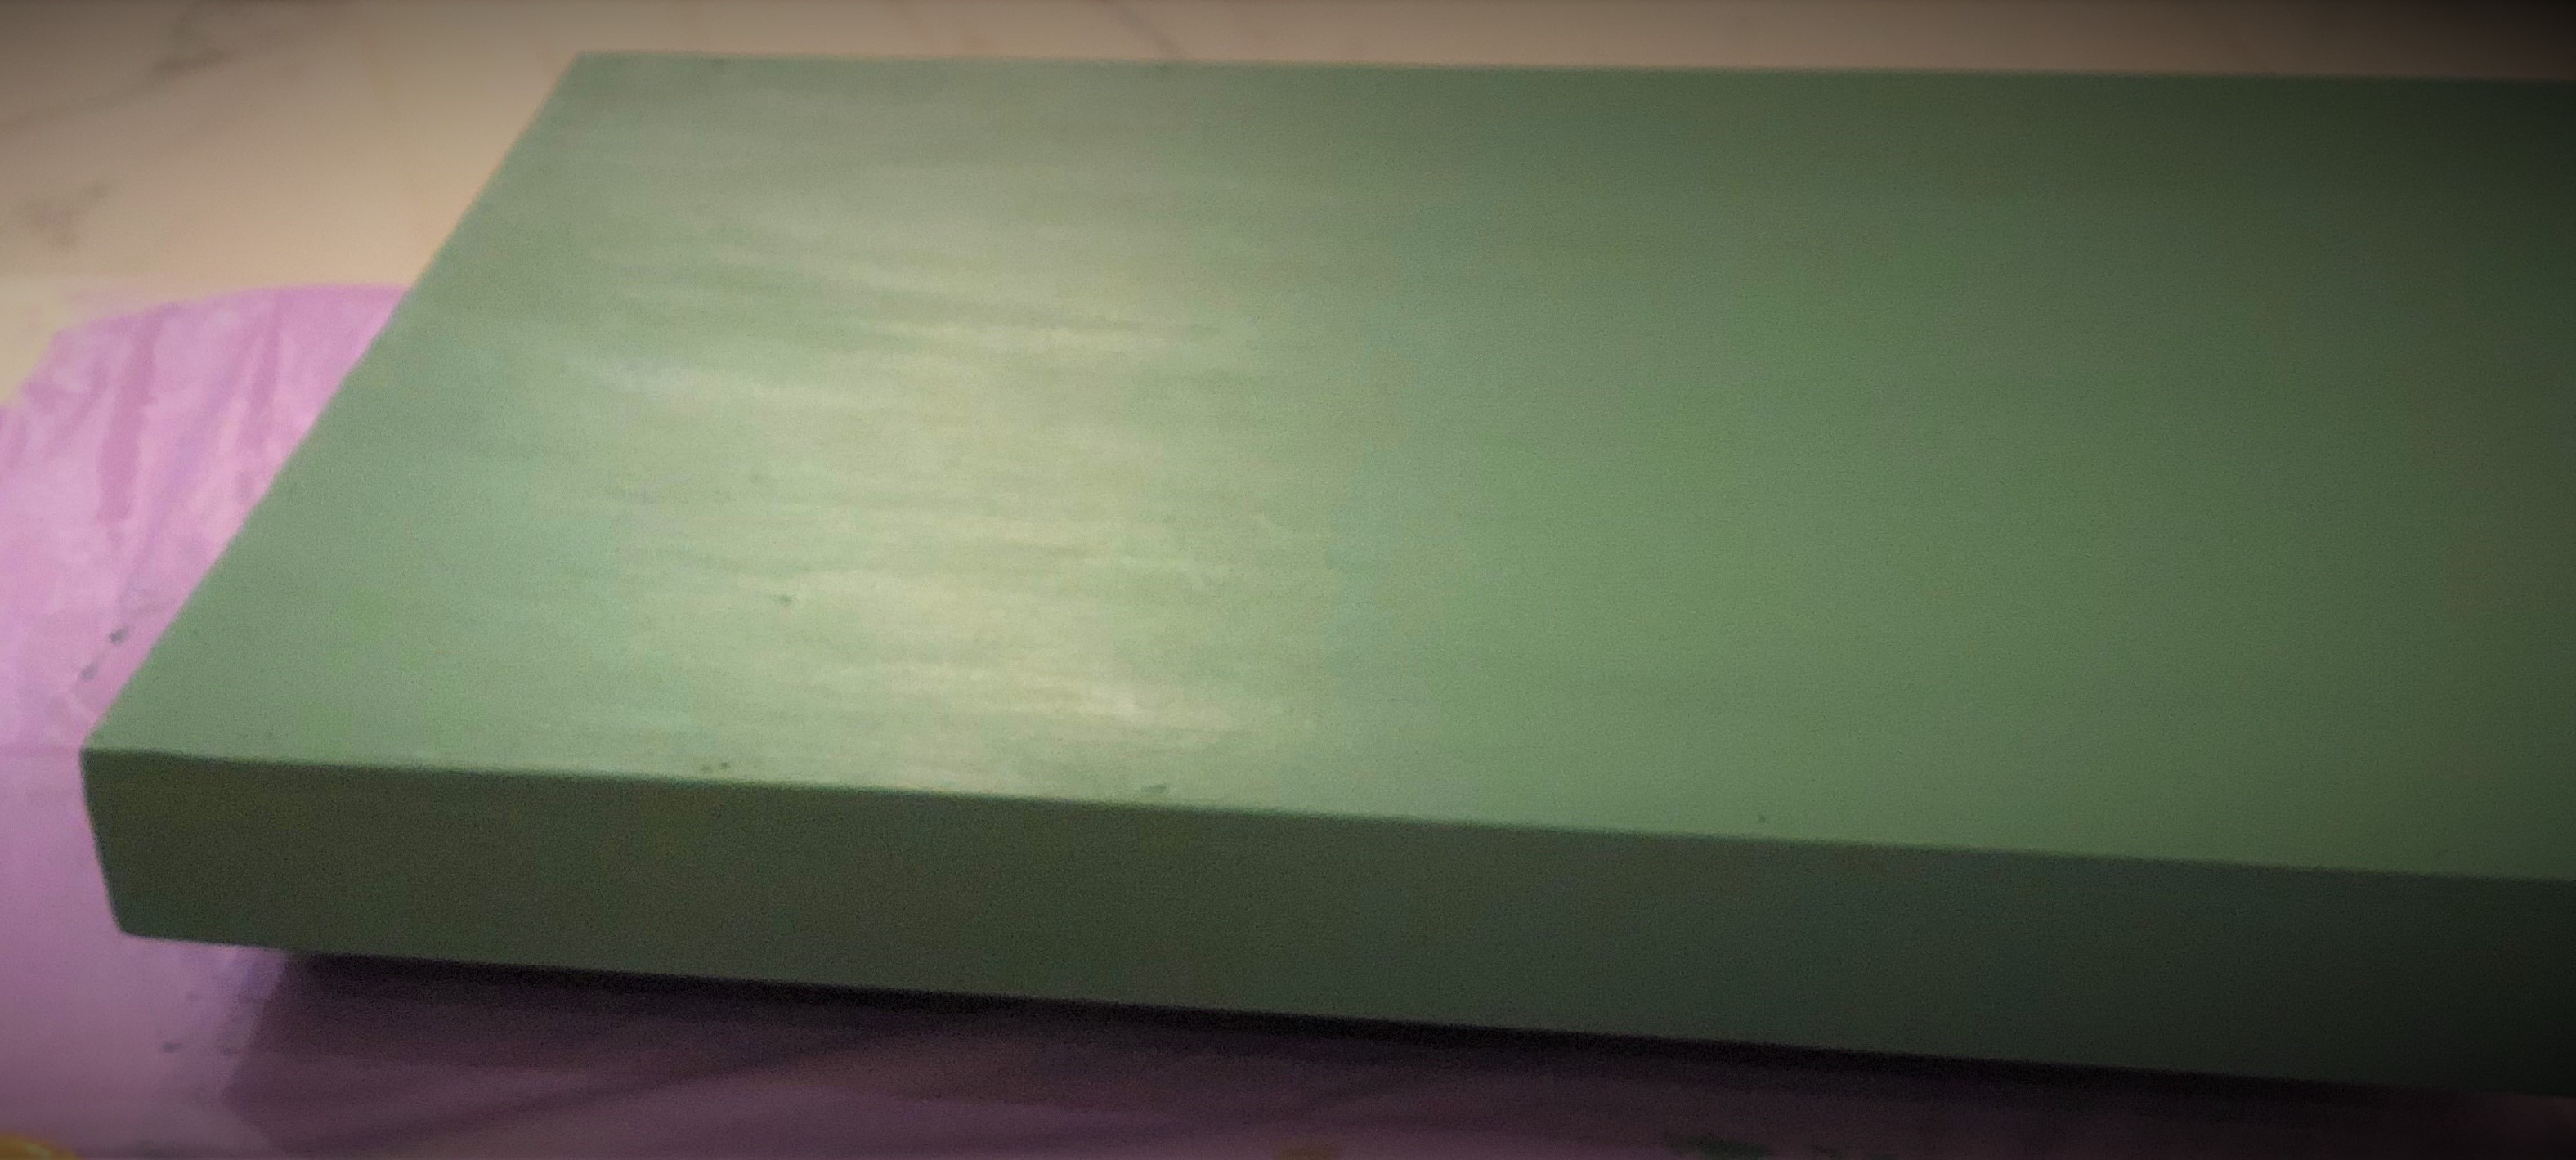
3. Then come the paint (your choice of colour) layers.For a neat and crisp look, proceed with two layers of acrylic paint colour of your choice allowing about 30 minutes – one hour for drying in between; till the surface is touch-dry.
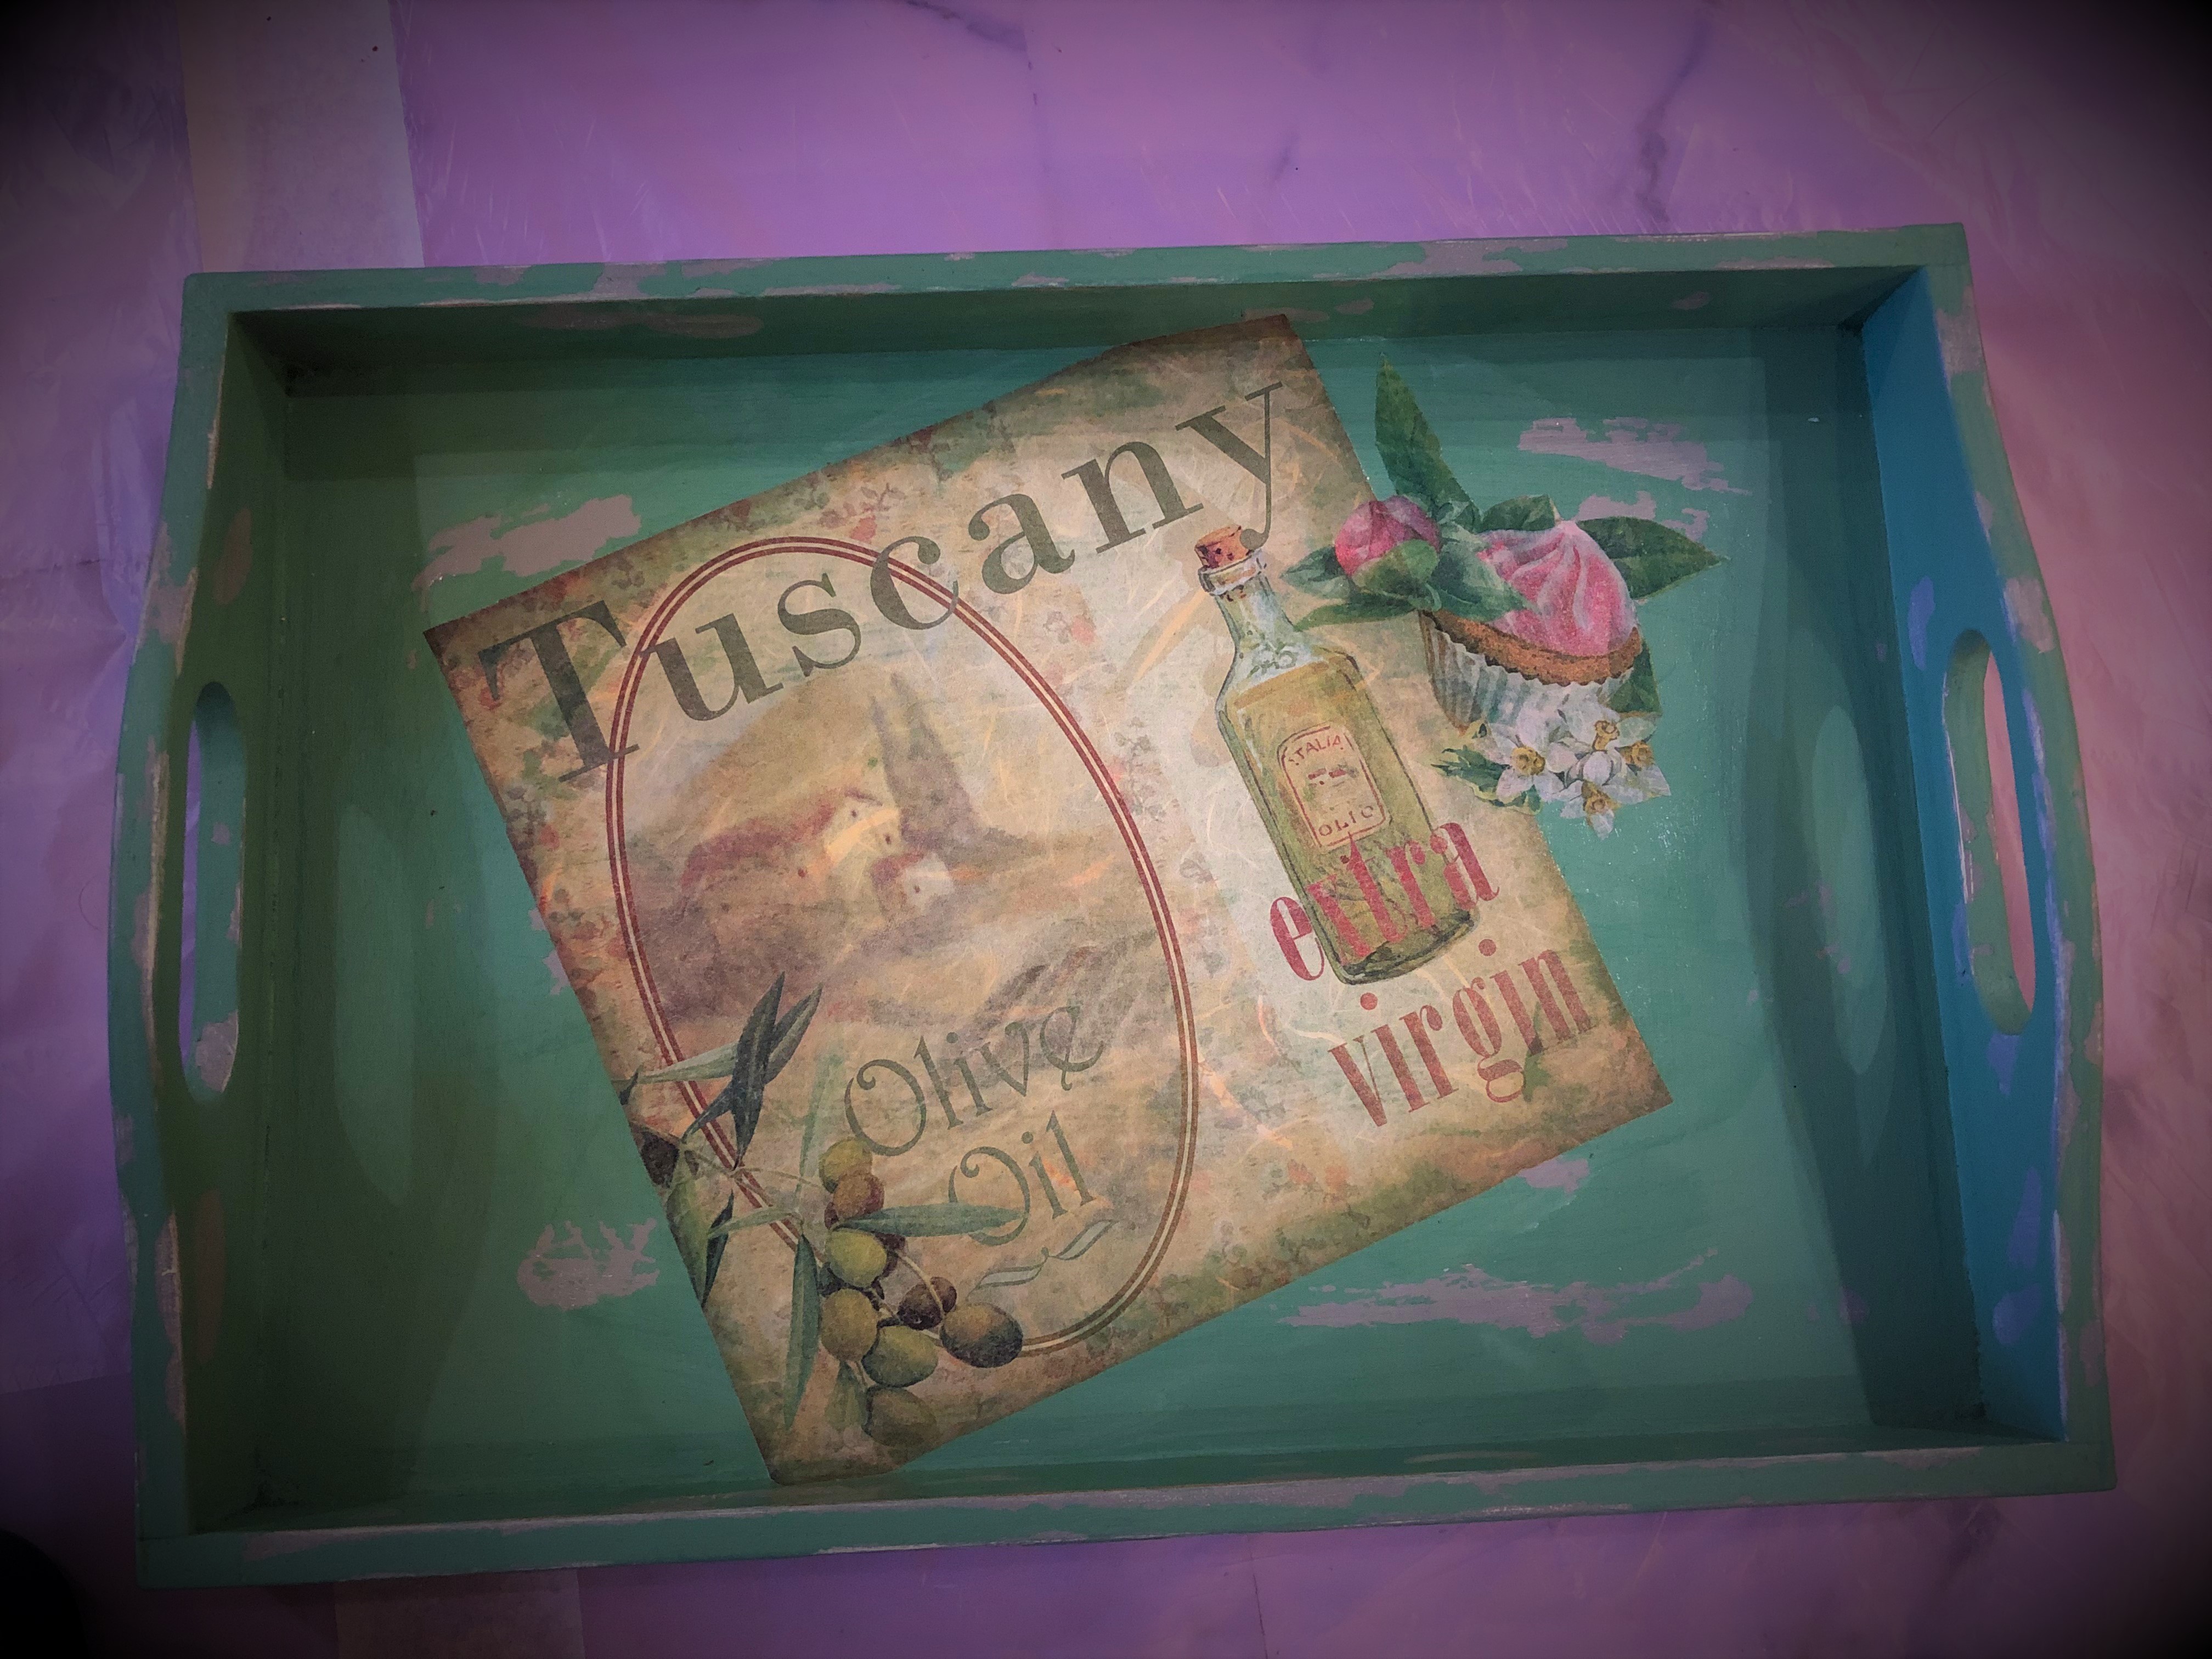
4. You can now start embellishing the surface with different mediums. For decoupage, you can use decoupage paper cut outs (possibly placed in a collage-type arrangement) – use decoupage glue to help transfer the images; I usually use Modge Podge. After applying one modge podge layer and transferring the image I allow 10 minutes drying time and then apply a second layer of modge podge all over the image especially the edges subsequently allowing drying time again.
5. Varnishing: Finish off the look with layers of varnish (at least two to make it a waterproof surface). I usually prefer water-based varnishes as these are known to dry and build up very quickly, don’t have any effect on the colour scheme, are environmentally friendly and not a fire hazard. Varnishing also adds a sheen to the product instead of a rough/raw look. To give you an idea, adding twenty to thirty layers can actually make the surface glass-like!
Some TIPS and TRICKS:
1.When cutting out images for decoupage transfer, cut as closely as possible around the edges making sure there is little or no white space around them. The more precise the cut, the more exquisitely beautiful the final look. You may use similar coloured markers/paints/wax pastes to cover the white parts once already transferred onto the working surface.
2.Decoupage papers come in different thicknesses. It is better not to apply too many coats of modge podge and varnish over the extremely thin ones (and additionally which have faded version of images), especially when the base colour is very similar (or different from white) as that could cause the image to disappear and become less visible or occasionally acquire that unpleasant ‘soaked’ look.
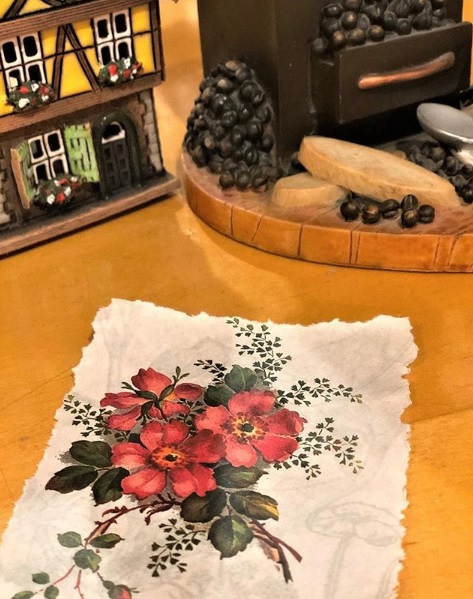
3.Sometimes instead of cutting with scissors, you might want to wet the image edges using a water-dipped paint brush and then pull the image out using fingers – this helps create a shabby chic look. I absolutely love employing this technique for postage stamp and vintage images in general!
4.For an antiqued look, start off with a layer of the colour you would want to show from beneath as the ‘patinaed/rusted layer’, and add the second layer as the colour of your choice to show on the top; of course allowing drying time in between. The trick is to apply brief patches/coatings of wax paste (any brand) before applying the top acrylic paint layer, wherever you would want the rusted effect to show. It usually takes about 15 to 20 minutes for it to dry. Once all these aforementioned layers have dried, you can use sanding paper to lightly sand the surface once again to reveal the antiqued/rusted patches on the surface!
5.Like any glue, make sure you clear out the ripples with hand movement while using modge podge layers to transfer images. Also, avoid applying too thick a layer of modge podge as that will risk creating ripples while trying to transfer images.
6.To make sharp edges less obvious and also to cover any white spaces in the cut-outs, 3D embellishments, wax pastes and decoupage overlay (transferring another image onto an already decoupaged one) come in quite handy. Apart from these, occasional strokes and painting with acrylic paints will help look your piece look more original and genuine rather than a mere collage/collection of images
7.If possible allow the layers to dry overnight as insufficiently dried layers might cause them to lift up from the surface when additional coatings of colours, images and embellishments are applied later.
8.And finally, try your best to improvise as you go from one stage to another instead of deciding the complete design details in mind beforehand. In my experience, even though it is undoubtedly useful to have an outline in mind, the colours, the theme (for instance, vintage, floral or patinaed) and the primary images, try not to imagine the scheme in total; let it unfold before you as and when created and you will end up having a genuinely unique piece truly reflective of your thoughts, self-expression and personality. Indeed, it is the small details that make a difference and help create a masterpiece!
For some of my completed pieces, click on this link! 🙂

